If you’re a beginner, and want to create a website, then this tutorial will show you step by step how to do it.
Creating a website for your affiliate business is one of the most essential things you should do in your affiliate marketing business. I hear the sales pitches all the time.. ‘you don’t need a website to make money as an affiliate’ and while this is somewhat true, it’s so much easier with your own site.
WordPress is the ideal platform if you feel that you are technologically challenged by the thought of building a site from scratch, or using any type of HTML coding.
WordPress is great because you don’t need to know any code and it’s unlikely you’ll have to do anything more complicated than pasting in some HTML from your affiliate programs, plus, you get great support all round using WordPress.
So Here’s How to Create a Website Using WordPress…
WHAT YOU WILL NEED
A Domain Name
Web Hosting
Minimum $50 to get started (few months)
(Best deals being yearly, you would need approx $150 up)
Some Content for your site (or an idea for it)
A little bit of patience
First 2 things you will need to create a website is a Domain Name… the address for your website, and Website Hosting… somewhere for your website to live.
Getting a Domain and Hosting
Most hosting companies will offer you both the Domain Name and Hosting. While this is fine, and could be a little cheaper, I recommend using different companies, one for your Domain Name, and another for your Hosting.
The reason is simply this…
Keeping your domain and hosting separate simply gives you more flexibility and makes switching hosting providers easier, should you need to down the line. You won’t need to worry about transferring the domain name, you just need update your DNS (Domain Name Servers) settings to new host.
Also, it’s a good idea if you have more than one domain name, to manage them all in the same place.
If you choose to go with the same company for both, please disregard the ‘Change Name Servers” section below.
For the purposes of these instructions, I will be using Godaddy for Domain Name Registration, and Hostgator for Web Hosting.
Getting Your Domain Name
Think of a few good names that you would like to use. You might need to play around with a few different ones, because more than likely the first few you think of will be taken. You can find some tips on How to Choose a Domain Name >> click here (will open in a new tab so you can come back here)
Following is a link to Godaddy so you can go and have a look to check if your chosen name is available GoDaddy.com

Type your preferred names into the domain search box as shown and start testing to see if your name is available.
Note: You may find some names available, but at a premium price, and unless you want to pay these prices you’ll just have to keep searching.
Once you have the name you like available, select and continue to cart, to purchase.
Don’t worry about all the extras, you just want your name here.
Take note of your login information as you will be coming back here to change your Name Servers. You can keep the page open too if you like… you’ll be back here shortly.
Here is a couple of other recommended domain and hosting providers if you would like to shop around.
Setting Up Hosting
Set up your hosting account by going here >> Hostgator.com (opens in a new window)

Hover over the Hosting link as shown above, and click on Shared Hosting. You will then be shown a breakdown of the different hosting plans available.
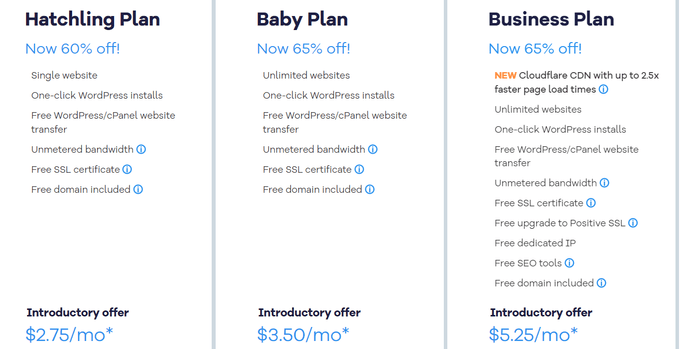
As you can see the Hatchling Plan only allows you 1 site, so I would recommend going with the Baby Plan as you then have the option of making as many sites as you like.
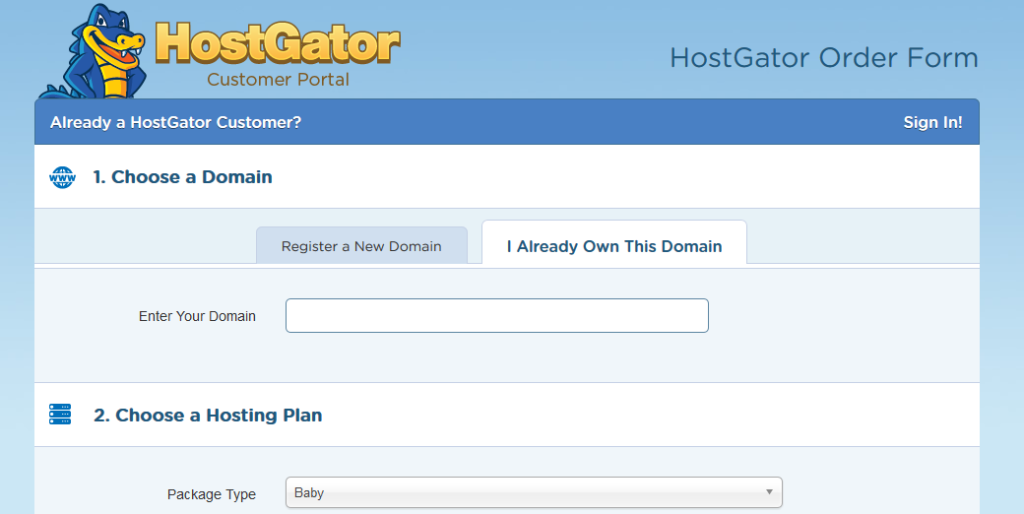
Click the “Sign Up Now” button once you’ve chosen a suitable hosting plan. You’ll then be taken to an order page similar to this one.
Simple instructions here, enter your Domain Name and check ‘I already own this domain’ if that’s the case.
Take notice of the billing cycle section to choose how often you are billed and the length of time you are committing to. As you can see, the longer you sign up for, the cheaper it will be.
Choose a username and password and keep these recorded somewhere as you will need them in the future. Then enter your billing information and whether you will pay by credit card or paypal.
You will then be presented with some addons. You can deselect these if you like, depends on yourself and your budget really, but I recommend at least the ‘Secure Your Site’ option (as they do).
Next will be your total costs, and if you are happy with everything, agree to the terms and conditions then click “Checkout Now” to complete your order.
You will receive an email shortly containing full details of your hosting account, including a link to your new Website control panel. Also called ‘cPanel’. Please keep these login details safe and accessible.
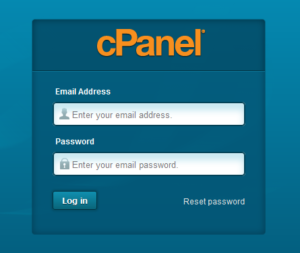
In this email, click on the cPanel link and you will be able to log in to your cPanel using the details provided in the email.
Once logged in you should see your cPanel, looking like this…
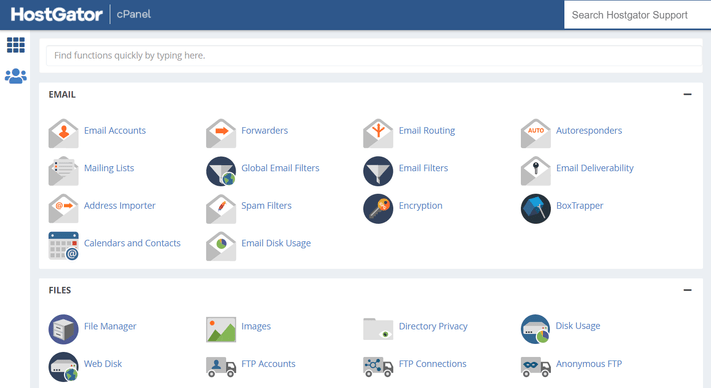
Don’t get overwhelmed by the look of it, as you probably won’t end up using a lot of the options here anyway. And it is quite simple to understand once you use it a few times.
This is also where you will install WordPress, and find your Name Servers that we will be changing over at Godaddy.
If you have chosen your domain name and hosting with the same company, scroll down to install WordPress.
If you have different domain and hosting providers, (recommended) you need to point your domain name to your hosting, by changing the Name Servers. Please note this process could possibly take up to 24 hours (but usually a few hours or so).
Changing The Name Servers
In order for your domain name to point to your hosting company, you’ll need to update the DNS your domain is using.
Here’s how…
Log back in to your website control panel (cPanel). Once in your cPanel, you will see your Hostgator nameservers in the side panel, on the right at present. You will see your General Information, and under there you will see your 2 Name Servers under DNS, and will look something like this…
DNS
NS 1
ns1234.hostgator.com
NS 2
ns1234.hostgator.com
Copy and paste these into notepad or a text file, or rather keep the site open.
Go back to your GoDaddy account or log back in. Click on “Domain Manager” and in the drop down, choose “Manage My Products”.

You will see all of your domains here. Navigate to which domain you are changing the Name Servers for and then click on DNS, to the right. You should come to the DNS Management page for that Domain Name.
Scroll down to Nameservers and click on ‘Change’.

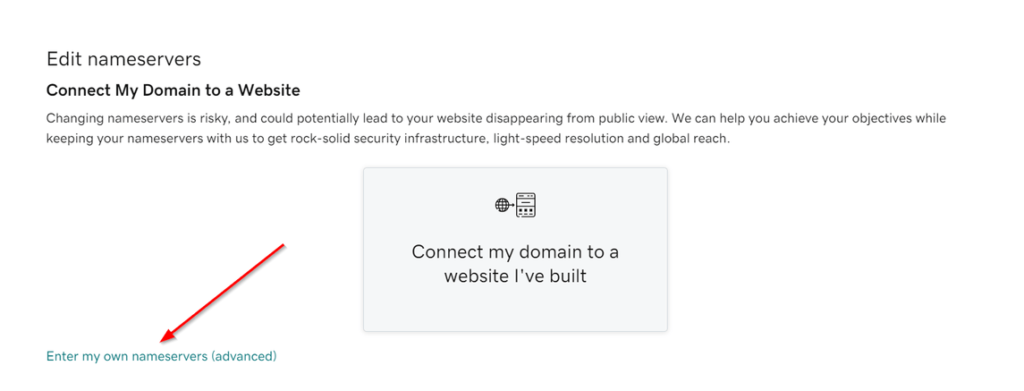
A pop-up will appear so you can edit your nameservers. Click on “Enter my own nameservers”
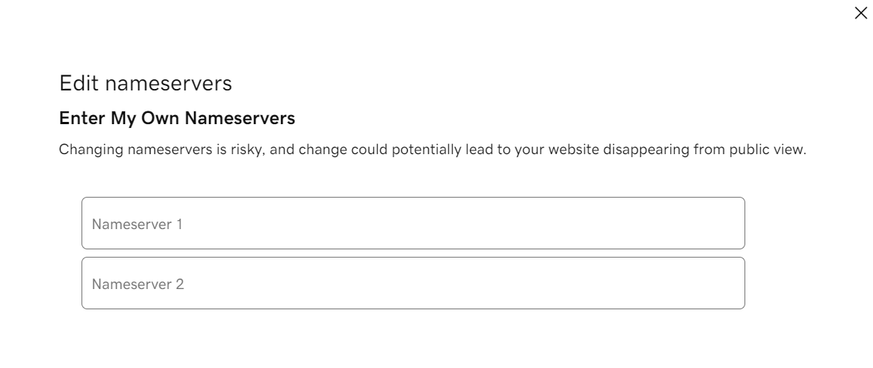
Another pop-up will appear where you can then put your Hostgator namservers in, and click save.
You should get a message saying changes have been saved and could take a few minutes to take effect.
Great! Done!
Please note: as this process can take up to 24 hours, but more often than not it will be a few hours so you may not see your site in cPanel until then.
Install WordPress
Sign in to your Hostgator cPanel.
If this is your main account, (i.e your first website with Hostgator), it will show up on your cPanel. If this is a second or further site with your host, it will need to go under the main domain name. Therefore you need to add it in the “addon domain” section. If that’s the case you can checkout this video from Hostgator to see How to create an addon domain.
Either way, in your cPanel dashboard, scroll down to the “Software” section. Find “Quick Install” and click on it.

Locate ‘WordPress’ towards the top of the page and click to get to the WordPress installer.
Simply click on “Install WordPress” to continue.
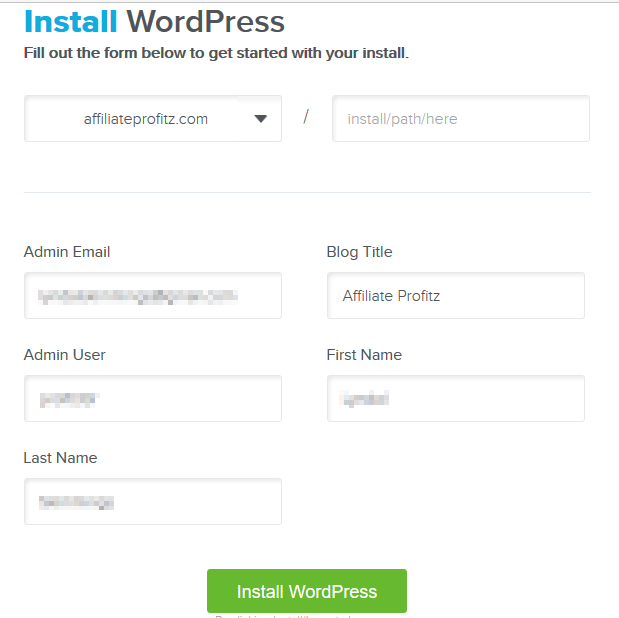
You will now be on the WordPress install settings page.
Choose the domain name in drop down arrow.
There should only be one if this is your first site here. No need to fill out the “install/path” unless you want your URL/website address to have something like “/blog” on the end.
Fill in your email, this is where you will receive emails about your WordPress site happenings.
Choose a title for your site, could be anything as you can change it later? (Most likely the same as the Domain name).
Admin User is the login name you would like to use to get in to the backend of your site. Choose anything you like and will remember. And then fill in your name.
Once done and happy, click “Install WordPress” to start the install.
You’ll get a message saying your install is complete!
Click on the drop down arrow in the message, get a link to your new site, and your login information, and be sure to keep that safe somewhere.
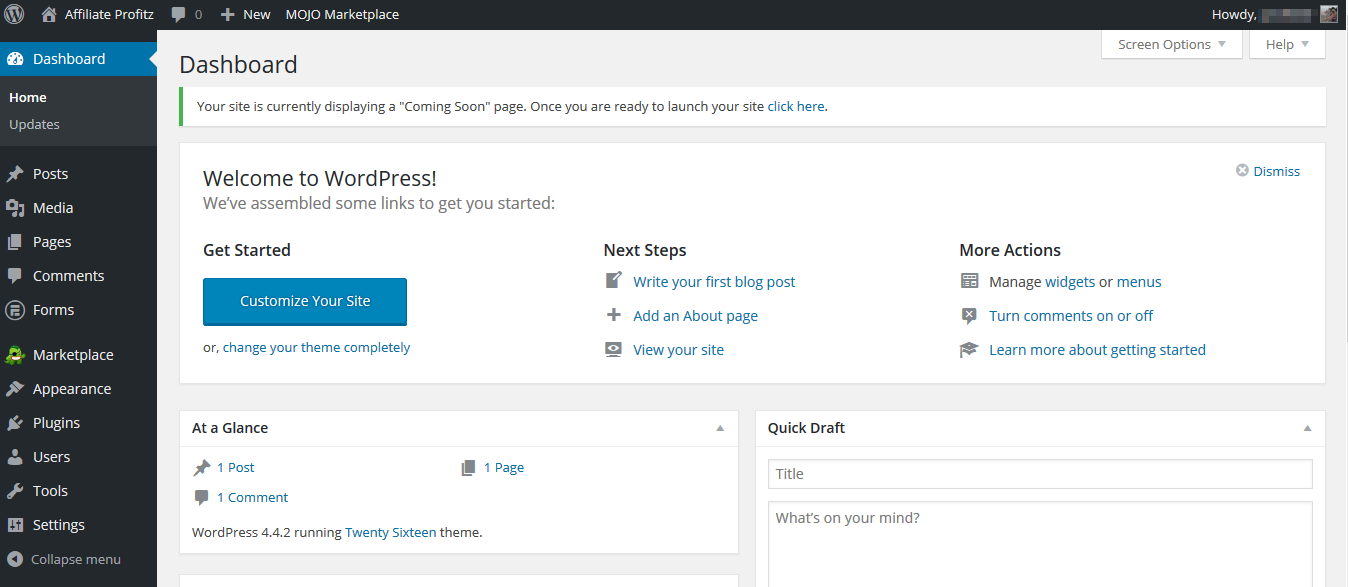
Click your site link, log in and check out your new site!
You can change the password to something you’ll remember inside the WordPress dashboard.
This post could go on forever, so following is just a few things about the WordPress dashboard. I’ll go over more about WordPress and design in other posts.
Change password – on the left side click on ‘Users’ > ‘your profile’ . Scroll down to ‘account management’ > ‘new password’ > generate password. Then delete what they give you and put in your own.
Click on ‘update profile’. This will be your new password to login in to the back end of your new site.
Click on posts, you will see WordPress has a default post in there. Delete that post and make your own by clicking “Add New”. If you’re ready with some content, type it in. If not, for the moment just type in something like Welcome to my new site, or Coming Soon, or whatever you like. You can view it by going to your site name in the top left corner.
You’ll want to pick a theme for your new site to make it look better, right now it looks a little bit like nothing.
To do that, click ‘Appearance’ on the left side, then ‘themes’. Find “Add New” to go through all the themes WordPress has to offer. With hundreds of themes and templates available to create a website in WordPress, you can find one to suit your niche or needs. (You’ll probably spend a bit of time here looking for the perfect theme). Then install new theme.
That’s it, your website is ready. Spend a bit of time getting to know your the dashboard and in no time your site will start looking great!
If you liked this tutorial, please share. Thanks!





Leave a Reply